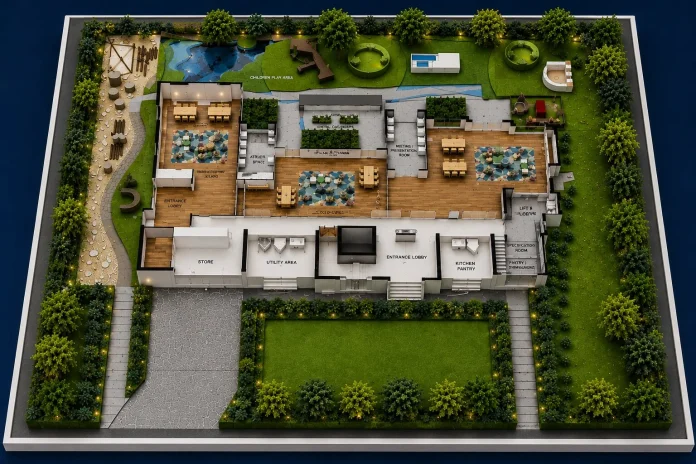
There’s a funny gap in many design projects. The team has a beautiful 3D file, rotating smoothly on a monitor, and everyone agrees it looks great. Then someone says, “Can we see it in real life?” and the room goes quiet, because turning a digital file into a physical object isn’t a one-click job.
The process takes planning, the right machines and a fair amount of human judgement. If you’ve never been through it, the steps can seem mysterious. This article explains how a 3d model making company typically moves from your file to a finished piece, what can go wrong along the way and how you can prepare so the whole thing runs without drama.
The Starting Point: Your Digital File
Everything begins with what you send. It might be a CAD drawing, a SketchUp model, a Revit file, a Rhino model or a set of PDFs with plans and elevations. Each has strengths and quirks. A 3D file already carries volume and form, but it often contains hidden problems such as overlapping surfaces, tiny gaps or details that are far too thin to exist in the real world.
A screen doesn’t care if a wall is 0.1 millimetres thick. A printer or cutter very much does. That’s why the first job is always a careful read-through of the file, and why it helps to hand over the original working file rather than a flattened image.
Cleaning and Preparing the Model
Before anything gets cut or printed, the file needs cleaning. Technicians close open surfaces, remove duplicates, fix flipped faces and simplify parts that are too complicated to reproduce. They also decide which pieces will be machine-made and which will be built by hand.
This stage is where experience shows. Someone who has built a hundred models knows that a railing drawn exactly to scale will vanish at 1:200, so it needs to be thickened or replaced with a simpler line. Details are exaggerated slightly in small models so the eye can still read them. It’s the opposite of what you’d expect, but it works.
Choosing Between Printing, Cutting and Hand Building
There are three main routes, and most projects use a mix.
- 3D printing handles complex shapes, curves and fine detail. Think sculptural facades, domes, furniture or small figures.
- Laser cutting and CNC work produce flat, accurate parts in acrylic, wood or board. Floor plates, walls, bases and contour layers come from here.
- Hand building covers everything that benefits from a human touch: landscaping, trees, finishing edges, assembling and painting.
A 3d model making company will usually recommend a combination based on your budget and the look you want. Printing everything is rarely the best answer. It can be slow and costly for large flat areas, and the surface often needs sanding and painting afterwards.
Understanding the 3D Printing Options
Different printers produce different results. Resin printers give very fine detail and smooth surfaces, which suits miniature buildings and small ornamental parts. Filament printers are tougher and better for larger pieces, though layer lines may show. Powder-based systems can create intricate shapes without support structures, useful for lacy or hollow forms.
The material matters too. Some resins are brittle, which is a problem if the model will be handled often or travel long distances. Ask what the printed parts are made of and how they’ll hold up. It’s a sensible question, and a good studio will have an easy answer.
Where Handwork Still Matters
Even with excellent machines, the final quality of a model comes from people. A skilled worker can lay a thin strip of wood so it looks like real decking, mix paint to match a facade colour or place trees so a street feels alive instead of staged. Machines can’t judge whether something looks right. Hands and eyes do that.
Assembly is another quiet skill. Joints need to be tight, edges straight and glue invisible. Cheap work often reveals itself here, with smears, gaps and slightly tilted walls that catch the light the wrong way.
Lighting, Sound and Moving Parts
Many clients now ask for extras. LED lighting can show a tower at night or highlight a single block when a button is pressed. Small motors can move a cable car, open a gate or rotate a platform. Some exhibition models even sync with a screen above them.
These features are exciting, but they need planning. Wiring has to be hidden, power supply considered, and access left for repairs. Mention early if you want any of this, because adding it at the end is much harder and sometimes impossible without rebuilding sections.
How to Prepare Your Files Properly
A little preparation makes a big difference. Here’s what helps most:
- Send the most recent version and tell the maker if it changes.
- Include the site plan, not just the building, if surroundings matter.
- Label levels and mention which parts are final and which are still tentative.
- Share reference photos for colours, materials and mood.
- Say clearly what scale and overall size you have in mind.
None of this takes long, yet it can save days of back-and-forth. Studios are far better at fixing problems they know about than guessing what you intended.
Quality Checks Before Delivery
Before a model leaves the workshop, it should be checked against the drawings. Dimensions, heights and positions get verified, lights are tested and the whole piece is inspected for dust, scratches and loose parts. Good studios photograph the model from several angles so you can approve it before it ships.
Ask for these photos. Looking at them on your phone for ten minutes is a lot cheaper than finding an error after the model reaches your venue.
Cost Factors You Can Control
People often ask what drives price. The main factors are size, level of detail, materials, number of buildings, lighting and the amount of handwork involved. A few choices can bring costs down without harming the result: a cleaner base design, fewer interior details, a slightly smaller scale or a simplified landscape.
What doesn’t help is rushing. Tight deadlines mean overtime, shortcuts and stress, and the quality can suffer. Plan the schedule properly and you’ll get better work at a fairer price.
Colour, Texture and Surface Treatment
Raw printed or cut parts rarely look finished. They need priming, sanding and painting, and each material takes paint differently. Resin parts want a good primer to hold colour. Acrylic can be left clear, frosted or sprayed on the back. Wood can be stained, sealed or painted depending on the effect you want.
Colour choices deserve a conversation. Real facades look different in daylight, under showroom lights and in photographs, so a colour copied exactly from a paint chip may look odd on a model. Experienced workers adjust slightly, often a touch lighter and less saturated, so the piece looks natural in the room where it will stand. If your project has a defined palette, send samples or a brand guide and ask for a test panel before the full model is painted.
Revisions: How Many Is Reasonable
Designs change, and a sensible studio expects that. Still, there’s a big difference between a small tweak and a redesign. Moving a tree is a tweak. Adding two floors to a tower after the walls are already glued is a rebuild.
Agree on a revision policy before work starts. Ask how many rounds are included, what happens after that and at which stage changes become costly. Many studios give clients a window for changes while the digital file is being prepared, since edits at that point cost almost nothing. Once physical parts are cut, each change takes real time. Treat the file approval stage seriously, and read it twice before you say yes.
Keep the Original Files Safe
After the project ends, ask the studio to store the cleaned digital files and the cutting layouts. If you need a second copy, a smaller version or a future update, those files can save a great deal of effort. Without them, work often has to start from scratch. It’s also sensible to keep your own copy of the final approved version, with a date in the file name, so there’s never doubt about which design the model followed.
Final Thoughts
Turning a digital design into a physical object is part technology, part craft and part careful communication. The machines are impressive, but they only deliver as well as the people operating them and the files they’re given.
If you’re planning a project, start by gathering clean files and a clear brief, then talk to a 3d model making company early rather than at the last minute. Ask how they’d approach your piece, which methods they’d use and why. Their answers will tell you quickly whether they understand your design. When they do, the move from screen to table feels natural, and the model you hold ends up even better than the one you imagined.